Deploy a template
A template is a ready-made stack — an app with the database, storage and payment wiring it needs — that deploys into one of your environments in a click. You do not write a spec, paste credentials, or wire services together.
This page walks the whole thing with a real deploy, and says what to check at each step when something does not go as expected.
1. Open the gallery
From a project environment, Stacks → Templates.
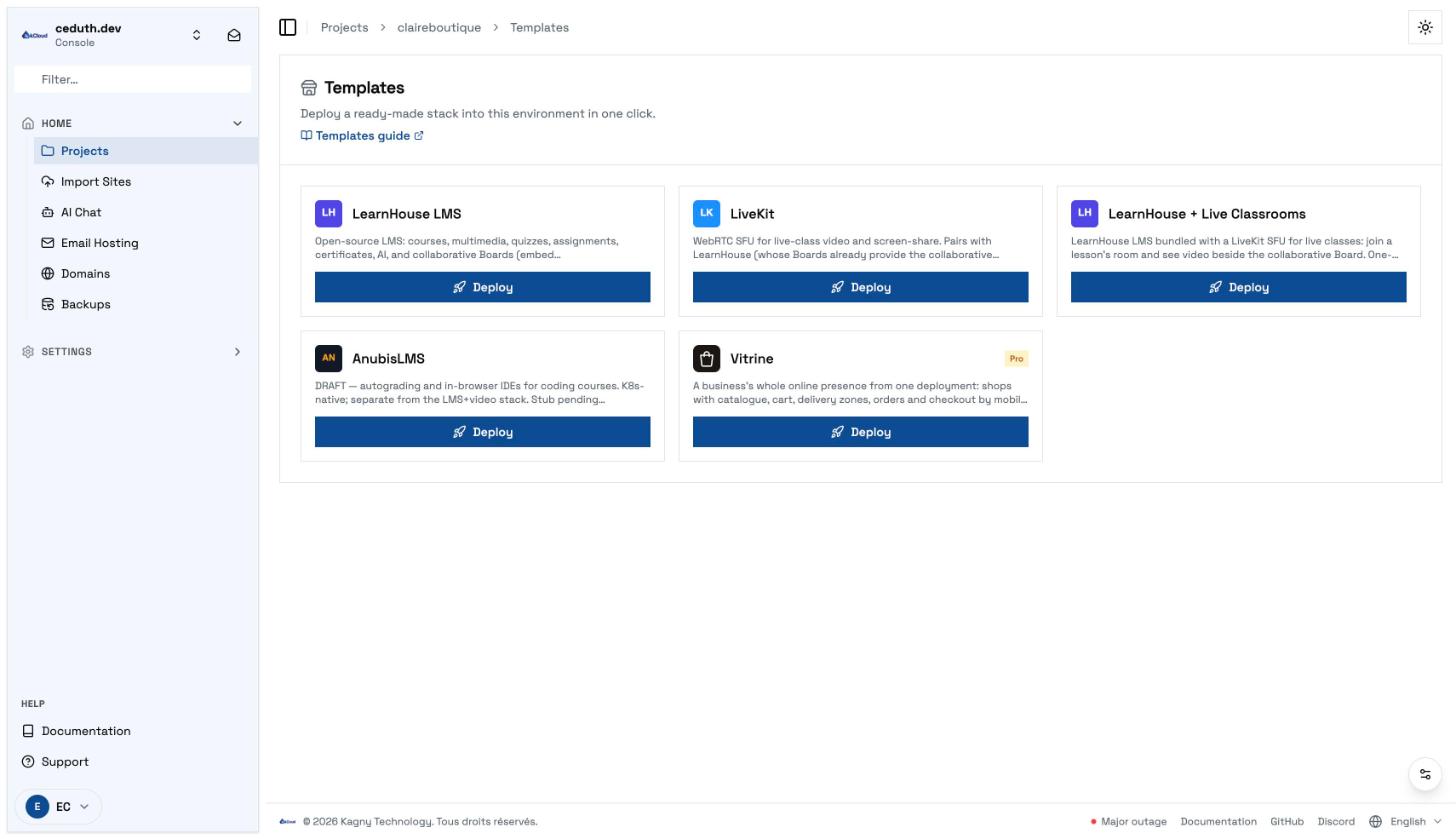
Free templates deploy for anyone. A template marked Pro or Cloud needs a subscription to its product. How that gating works, and what you need to hold, is in Template Marketplace.
A paid template you are not entitled to shows an upgrade prompt instead of deploying. If a template you have bought will not deploy, your licence entitlement is the first thing to check, not the template.
2. Deploy
One click. The stack is created but not started — components, their connections, and every environment variable they need are generated for you.
Deploying is a separate action, so you can look before anything runs.
3. Start it
Deploy stack. Components come up in dependency order: databases and storage first, then the app that needs them.
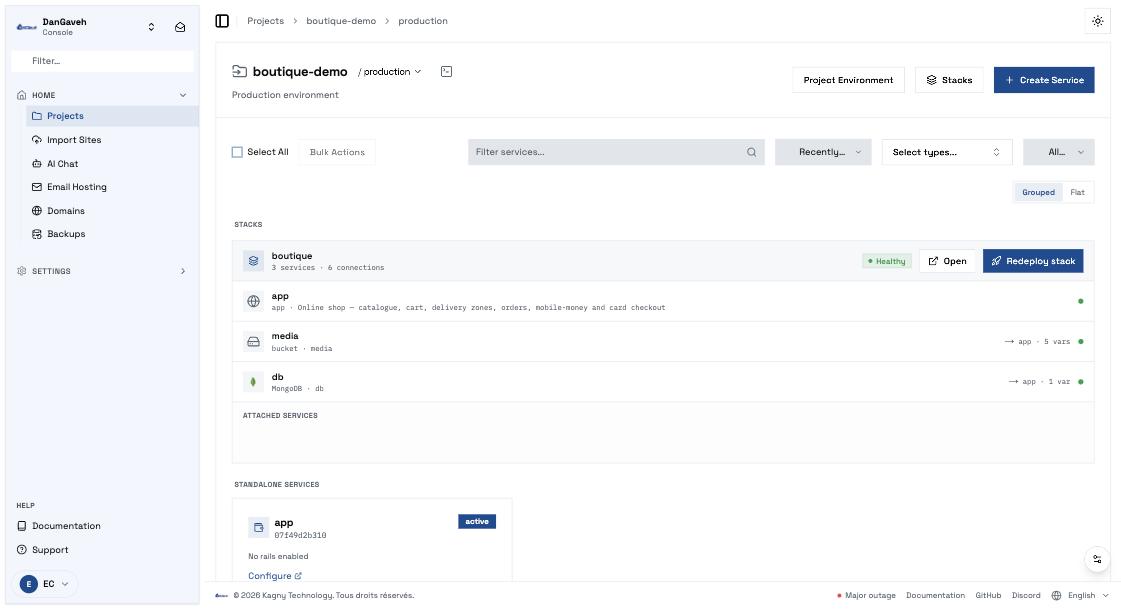
Each arrow is wiring you did not have to do. In this example the bucket passes five variables to the app and the database passes one — endpoints, keys and connection strings, injected directly, never copied by hand.
A component that fails blocks whatever depends on it. If the app never starts, look at the services below it first — an app waiting on a database or a bucket that failed will sit there indefinitely without an error of its own.
4. First boot
A template that needs setting up does it itself the first time it starts. There is no step here for you.
This shop created its own categories, delivery zones, category photos, a demo catalogue and its first administrator — from an empty database, in about three minutes.
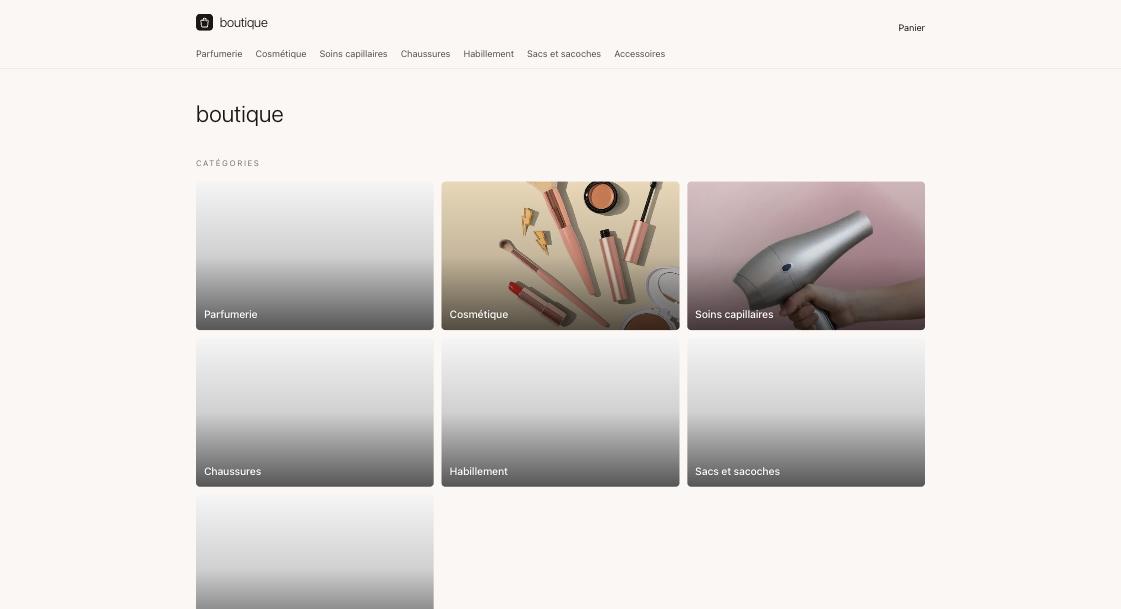
Give it a few minutes before deciding it is broken. First boot uploads images and seeds content, and the site will not answer until that finishes. A request that times out at two minutes may well succeed at four.
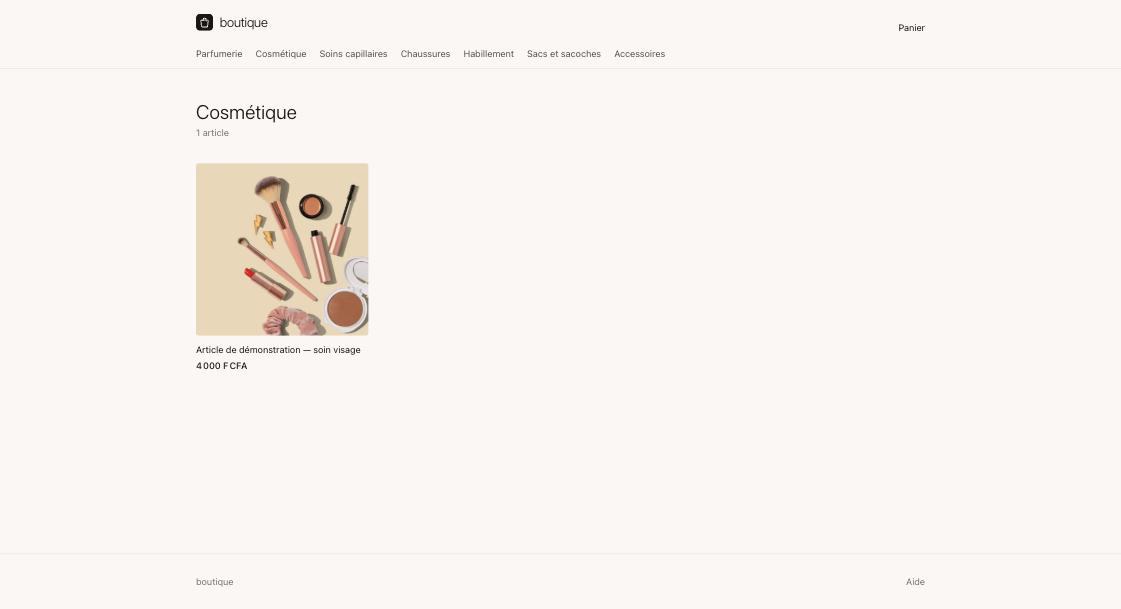
Prices, dates and language follow the template's regional settings, so a shop
that ships to Dakar shows 4 000 F CFA rather than a dollar amount.
5. Sign in to the admin
The template creates your first administrator during that first boot, because an app that cannot be administered is not deployed.

The address is admin@ your deployment's domain. The password was generated
for you — find it in the application's Environment tab as
SEED_ADMIN_PASSWORD.
Change that password once you are in. It was generated per deployment and is not shared, but it is readable by anyone who can see the environment variables of that application.
6. Check it end to end
A template that deploys is not the same as one that works. Walk the thing a customer would do, once, before you put real stock in.
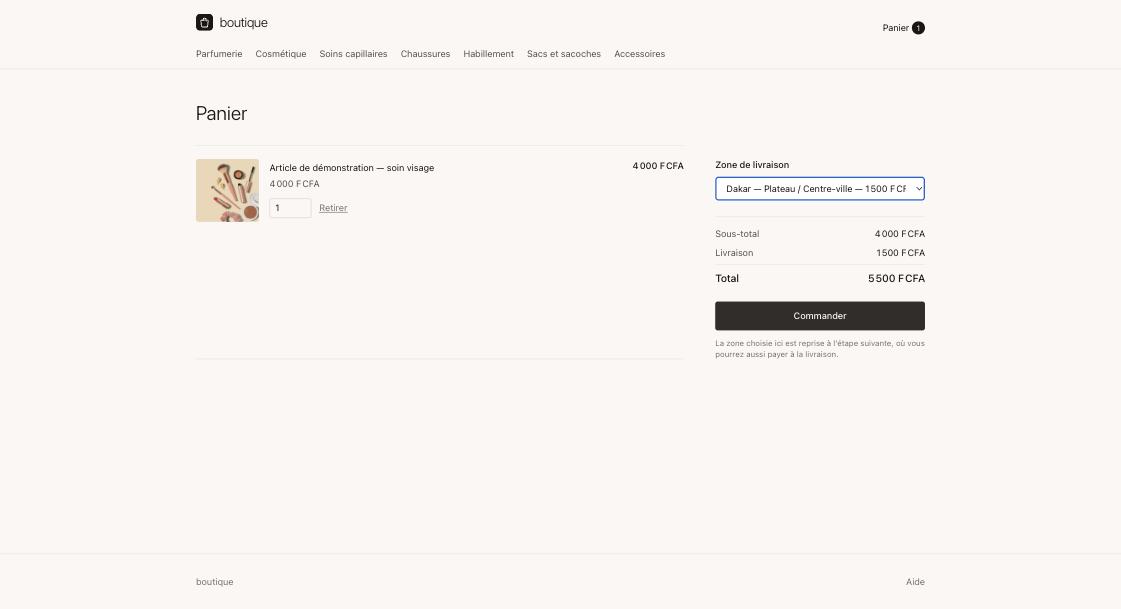
Delivery zones and their prices come from the template's own setup — choosing one recalculates the total.
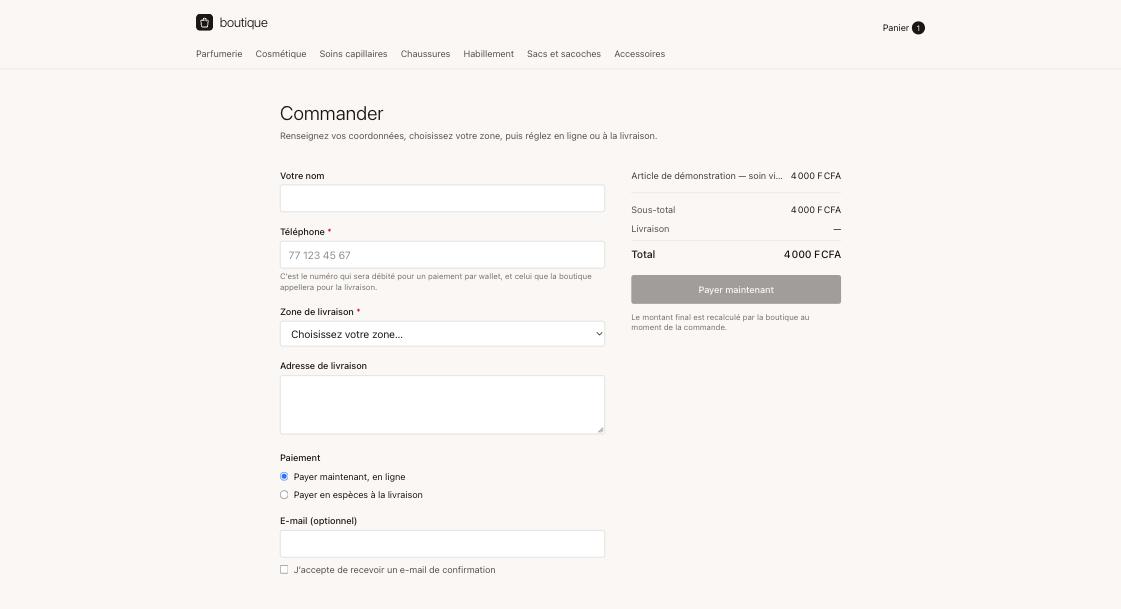
The shop does not name payment providers, and that is deliberate. It offers "pay online" and asks the gateway what the customer can actually use at the moment of payment — so what is on offer follows the gateway's configuration, not a list baked into the shop. If no online method is available, cash on delivery still works.
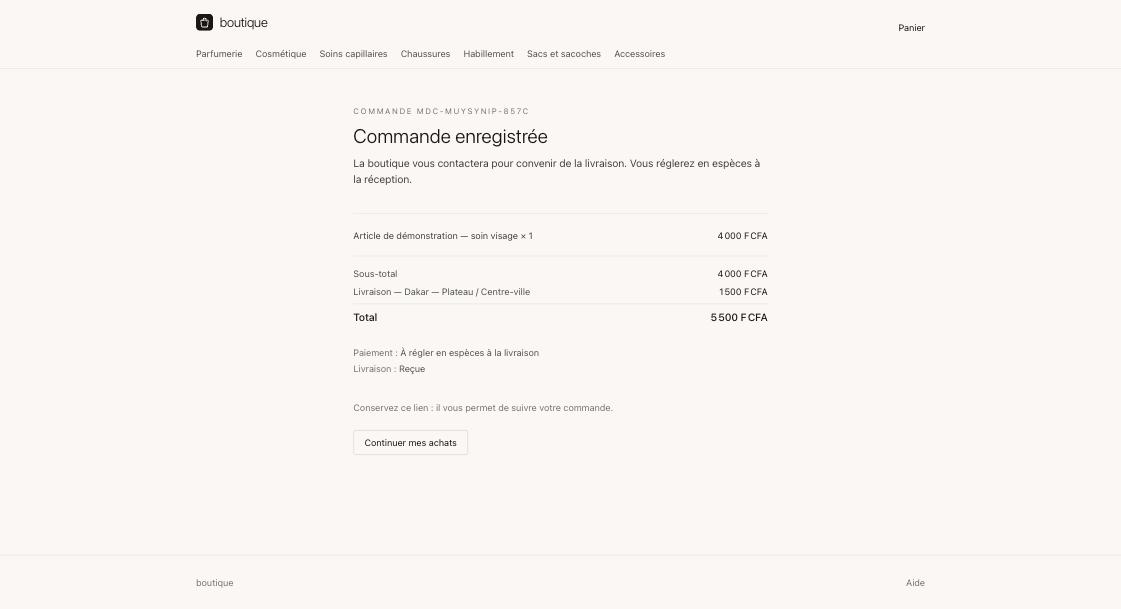
An order gets a reference and a link the customer can keep. That link is the whole order-tracking story for them — no account required.
Several sites from one deployment
A business rarely sells under one name and nothing else. There is usually an apex domain saying who you are, a brand or two that take enquiries rather than orders, and the shop. All of them come from this one deployment: each is a row in Réglages → Sites with its own domain, its own look and its own content.
Each site has a Type de site:
| Type | What it renders | Has a catalogue |
|---|---|---|
| Boutique | Catalogue, basket, checkout, order tracking | Yes |
| Marque | A page: an introduction and sections, each with an optional link | No |
| Page d'accueil | The same, plus a list of your other sites | No |
The landing page's list is derived from the other sites, not typed by hand, so adding a shop or a brand puts it there without anyone editing a link.
The catalogue addresses — the basket, the checkout, a category, a product — exist only on a shop. On a brand or landing site they return 404, which is correct: a page that takes enquiries has no products to show.
Giving a site more than one domain
A site often answers on more than one name: the bare domain and a subdomain, or an old address kept alive after a rename. Point each of them at the application component in Domains, then edit the site. Nom de domaine is the canonical one — what the site calls itself. Every other name goes under Autres noms de domaine, one row each.
Adding the domain is only half of it. A domain pointed at the component gets its own ingress and certificate, so it resolves and serves HTTPS — but the app matches the incoming hostname against the sites' own lists, and a name none of them claims returns 404 on every page. A domain that is set up correctly everywhere in the dashboard will still 404 until a site claims it.
Use an alias only for names that are the same site. If the other name is a different brand, make it its own site instead: products and categories belong to one site, so pointing two brands at one shop shows both audiences the same catalogue.
Demo content, and getting rid of it
A template that ships demo content creates it on first boot so the shop is not an empty shell while you look around. Every demo item is flagged as it is created, which is what makes removing it safe later.
You get three things, not one:
- A catalogue — five products with photos, prices, stock and real descriptions, so a product page shows you what a filled-in one looks like.
- A brand page, on
marque.<your-domain>— a site that presents an activity and takes enquiries, with no catalogue and no basket. - A landing page, on
accueil.<your-domain>— which lists your other sites, so you can see the derived list working before you have your own.
The two demo sites exist as rows in Réglages → Sites from the start, so the three kinds are something you can look at and edit rather than read about. They answer on those hostnames as soon as you point the subdomains at the same application component; until then, open them from the admin.
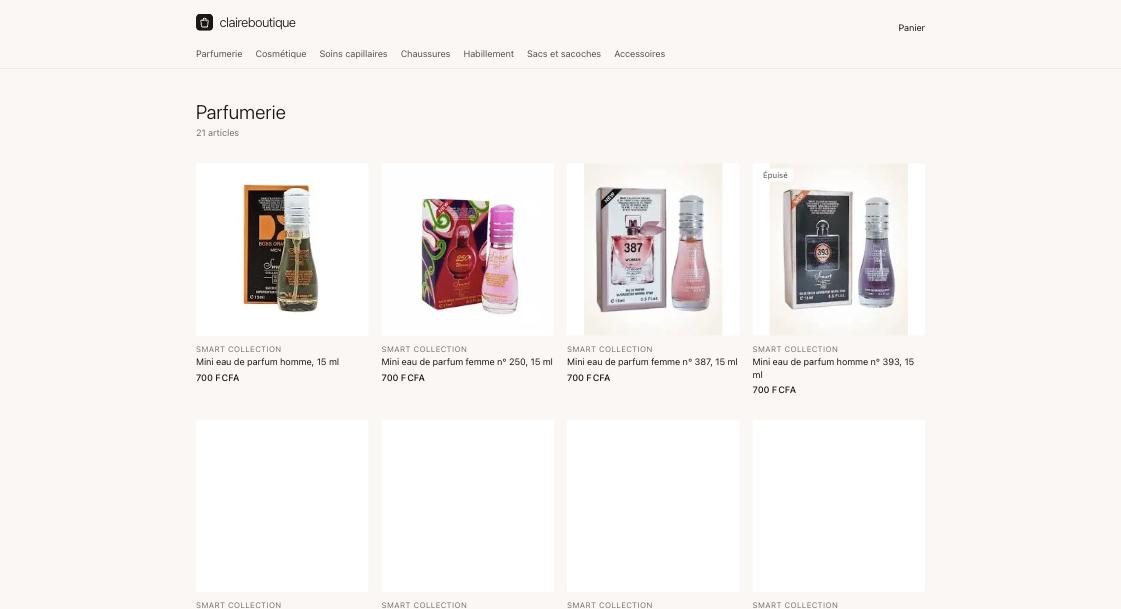
The demo products are named like real stock on purpose — a serum, a hairdryer, a leather bag. What makes clearing safe is the hidden flag on each row, never the wording, so the admin tells you how many demo items exist rather than leaving you to guess from their names.
Clearing it
The administration home has a one-click removal. It deletes only items carrying the demo flag, so it cannot touch anything you added, imported or edited — and it disappears once there is nothing left to clear.
It removes the demo products and the two demo sites together, and names both before it does, so clearing the catalogue does not leave two invented sites behind in your settings. Your own sites, including the shop, are not touched.
Clear it whenever you are ready to put real stock in. Nothing depends on the demo items, and there is no way to get them back short of redeploying, which is the intended trade.
To start with nothing instead, set SEED_DEMO_PRODUCTS to false in the
application's Environment tab before the first boot. You still get the shop,
its categories, the delivery zones and your administrator account — only the
demo catalogue and the two demo sites are skipped.
Category cover photos are not demo content and are not removed. They are the categories' own pictures rather than pretend data, so a cleared shop still looks finished instead of looking broken. Replace them from the admin when you have your own.
If you are importing an existing catalogue
Import first, then clear. The two do not interfere — the flag is what separates them — but clearing first and importing afterwards leaves a window where the shop looks empty to anyone visiting.
Drafts survive an import and stay drafts. If your old shop had unpublished items, they arrive unpublished here too rather than going live by accident. Check the admin's draft count matches what you expect before announcing the new address.
When a deploy does not work
| What you see | Where to look |
|---|---|
| Template will not deploy at all | Your entitlement to that template's product |
Stack Failed, app never started | The component that failed, usually a database or bucket — not the app |
| Site times out shortly after deploy | First boot still running; wait and retry |
| Site loads but has no content | First boot did not complete — check the application's logs |
| Cannot sign in to the admin | SEED_ADMIN_PASSWORD in the application's Environment tab |
| One domain works, another 404s on every page | The site's domain list — see Several sites from one deployment |
A stack can read healthy while one service inside it cannot start. Healthy means it was provisioned, not that every component is serving. Open the stack and check each one.